Installing ProvToolbox on macOS
ProvToolbox is a useful command line tool for validating and visualizing PROV documents, but unfortunately it can be a bit of a challenge to install on Windows and on macOS because of its dependency requirements.
This post suggests three step-by-step methods of installing ProvToolbox on your Mac – you should follow the method you feel most comfortable with, but can try the other methods in case of problems.
Table of content
Overview of requirements
As of 2020-08, ProvToolbox 0.9.5 is the latest release, which requires:
- Java JRE 9 or later. We’ll show how to install OpenJDK 11 which is the closest Long-Term Support release.
- Graphviz 2.x (for visualization)
There is also an outdated installer of ProvToolbox for macOS, which is currently not recommended. In this guide we’ll show how to install ProvToolbox 0.9.5 from ZIP along with its requirements.
Warning: This guide has been developed for Intel-based Macs, if you are using the new ARM64 Mac you will either need to use compatibility modes or install/compile these individual dependencies manually.
Software packaging for macOS
Traditionally software installations on macOS are either drag-drop Application bundles (as from the Mac App Store or dmg disk images) or the wizard-based pkg installation packages, which can modify the Operating System.
Both of these approaches require the software to bundle all its dependencies, or that the user carefully install matching dependencies in order. As many open source software packages, particularly for the command line and programming, rely heavily on other software libraries, this traditional approach can become cumbersome or fragile over time.
As an alternative, several software packaging initiatives have evolved that work with macOS, including:
- Conda
Initially centered around supporting multiple Python binaries and Jupyter Notebook, the Anaconda repository provides a large selection of pre-compiled open source software tools and libraries, particularly for data science and academic users. Also available for Windows and Linux. Conda can activate different environments which is useful for reproducibility or if installing multiple versions of the same software. - HomeBrew
A recipe-based repository of pre-compiled software, including most general-purpose open source you will want to install in macOS, but also useful for adding newer versions of software already installed in macOS. Usually fast and straight forward to use as long as HomeBrew itself installs correctly, and packages are kept up to date. - MacPorts
Similar to HomeBrew, providing a large selection of general open source packages. Compiles from source code locally, which can be time-consuming and requires installation of build tools like XCode. Useful for experimenting with bleeding edge versions of software.
These systems work similar to Linux distributions like Ubuntu or Debian, in that installing a particular package will also install its dependencies. However the packages and binaries are installed under a dedicated folder, typically under /usr/local or /Users/alice/miniconda3 within the user home directory. This alternative root will have traditional POSIX folders corresponding to their operating system counter-parts under /usr like bin/ lib/ and share/ — allowing the package system to rely on runtimes like Python, independent of what Apple may provide in that particular macOS version.
These packaging systems therefore typically modify the system variable PATH for the current user, so that the tools installed can take preference over the commands included with the operating system.
Note: You should not need to use sudo to install software within the chosen packaging system.
Warning: If you are already using programming languages like Java, Python or Ruby, be aware that after installing a packaging system according to this guide, your PATH may pick up a different version of runtimes/compilers, which may require you to reinstall any additional libraries you use. To check which path is resolved, use the shell built-in **type**:
$ type python
python is /home/stain/miniconda3/bin/python
Conda
We found that using the package manager Conda gave the most consistent results for installing the dependencies of ProvToolbox. The large selection of packages in Anaconda repository is also useful for data science purposes, such as using Jupyter Notebook or R.
While there are multiple ways to install Conda on macOS, we here show the Miniconda method using the Terminal.
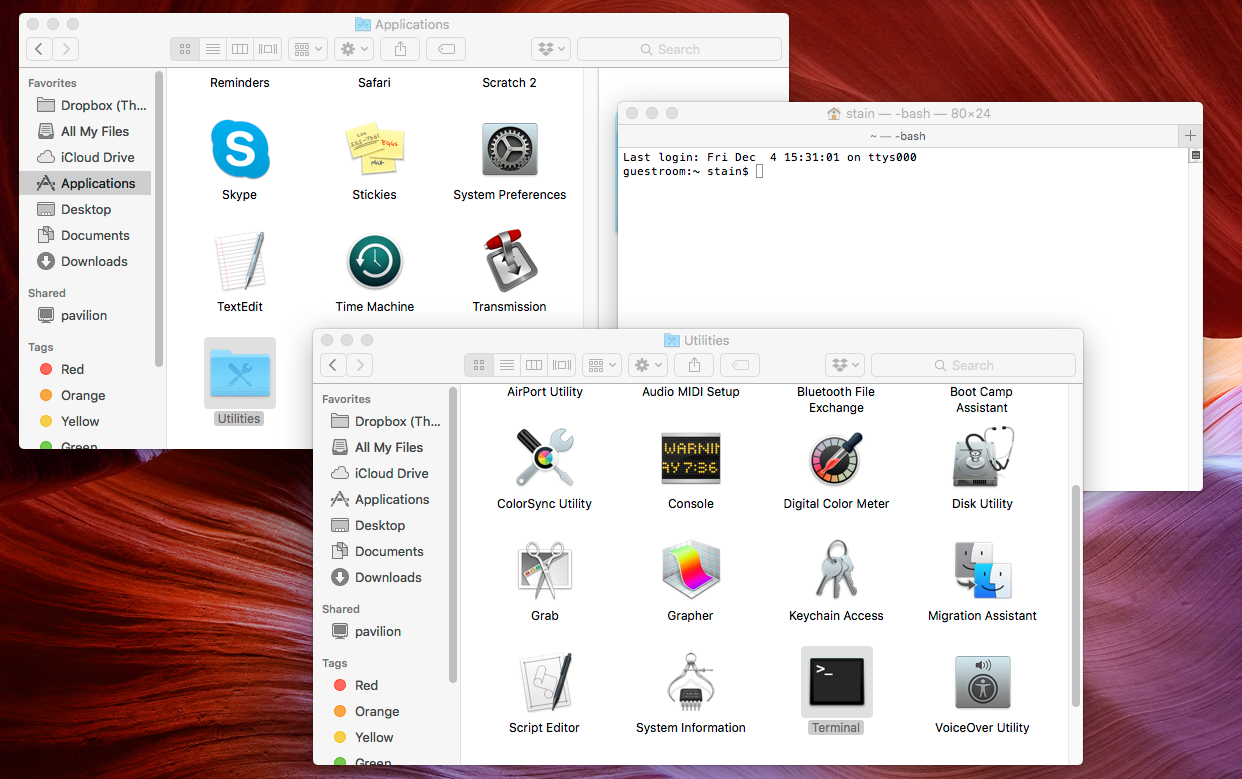
First open the Terminal application from Applications/Utilities:
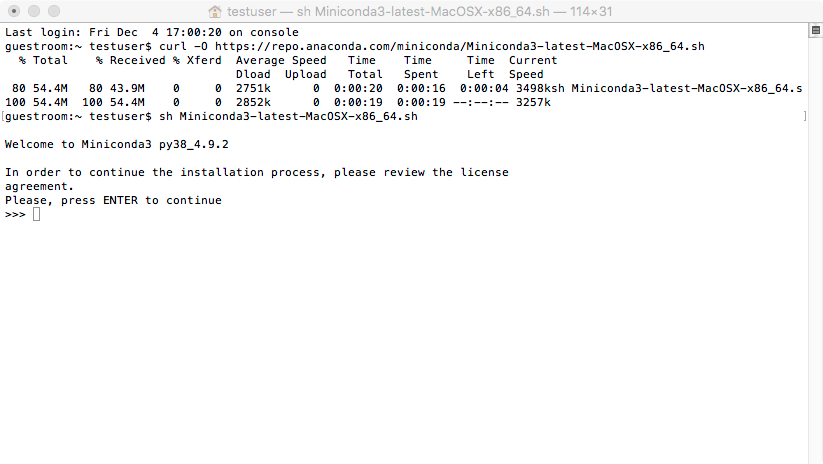
To install Miniconda, run these two commands:
curl -O https://repo.anaconda.com/miniconda/Miniconda3-latest-MacOSX-x86_64.sh

sh Miniconda3-latest-MacOSX-x86_64.sh
As installation finishes, ensure you say yes to allow conda init to modify your PATH.
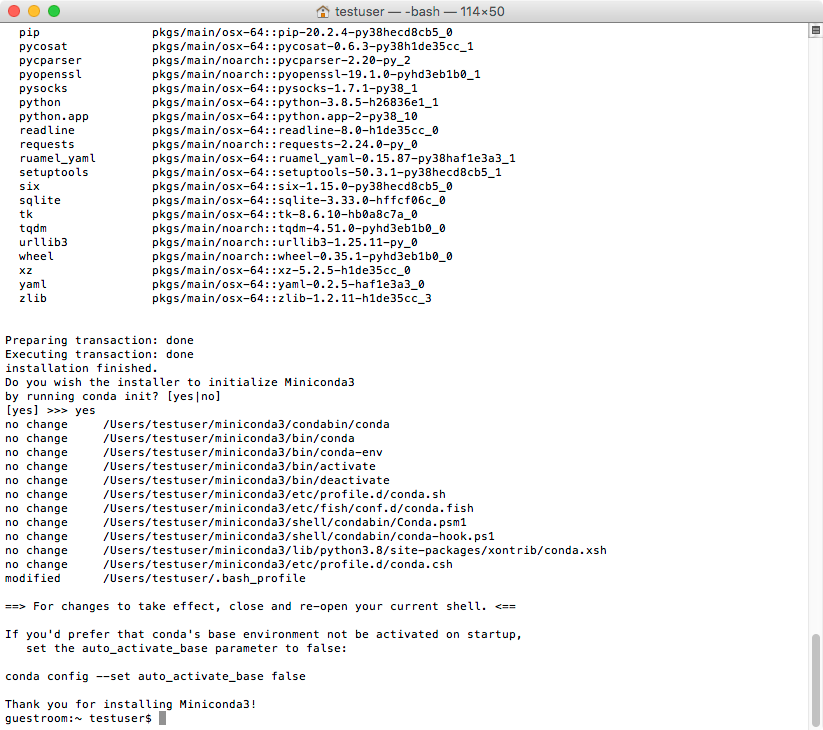
Here the Conda base environment have been installed under /Users/testuser/miniconda3 however we need to start a new terminal to activate it.
Note: If you are on macOS Catalina or newer, the default shell is now zsh. Substituting testuser below you may need to run the equivalent of:
source $HOME/miniconda/bin/activate
conda init zsh
Installing Graphviz and OpenJDK with Conda
First, in a new terminal window, check that the conda command is working by searching for Graphviz:
conda search graphviz
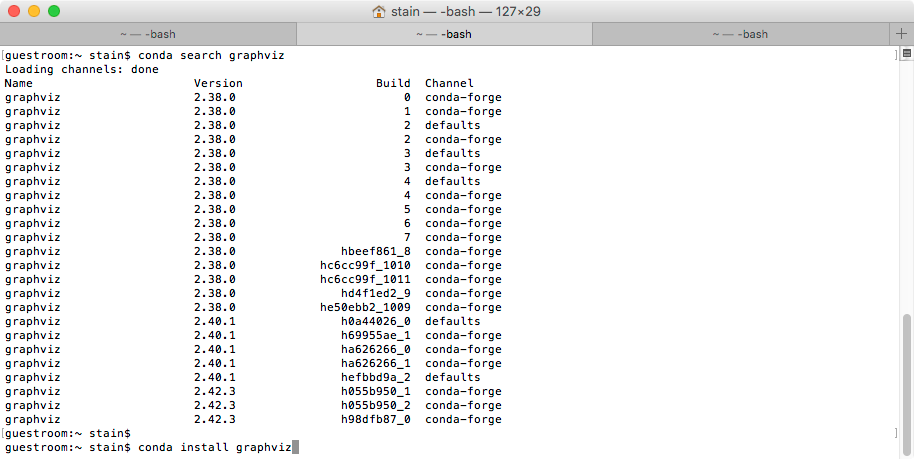
We can install graphviz and OpenJDK 11 at the same time using:
conda install graphviz openjdk=11
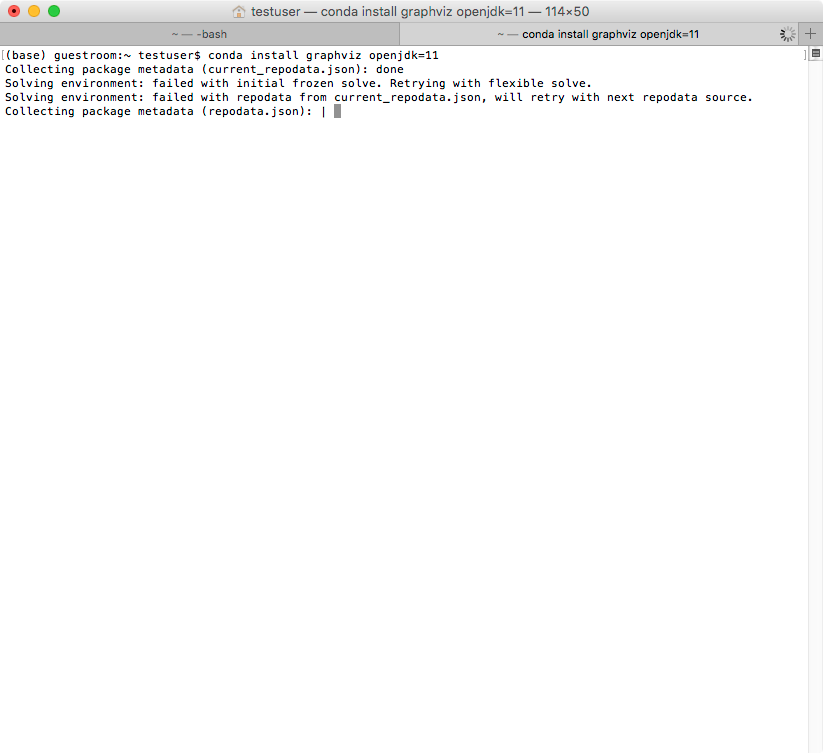
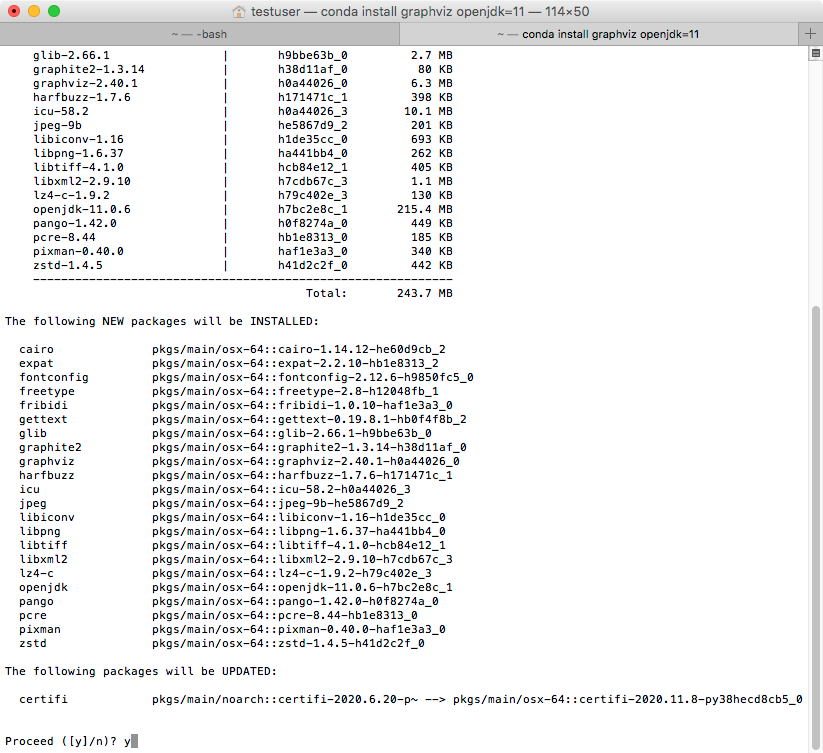
After Conda has resolved dependencies, answer y to install:
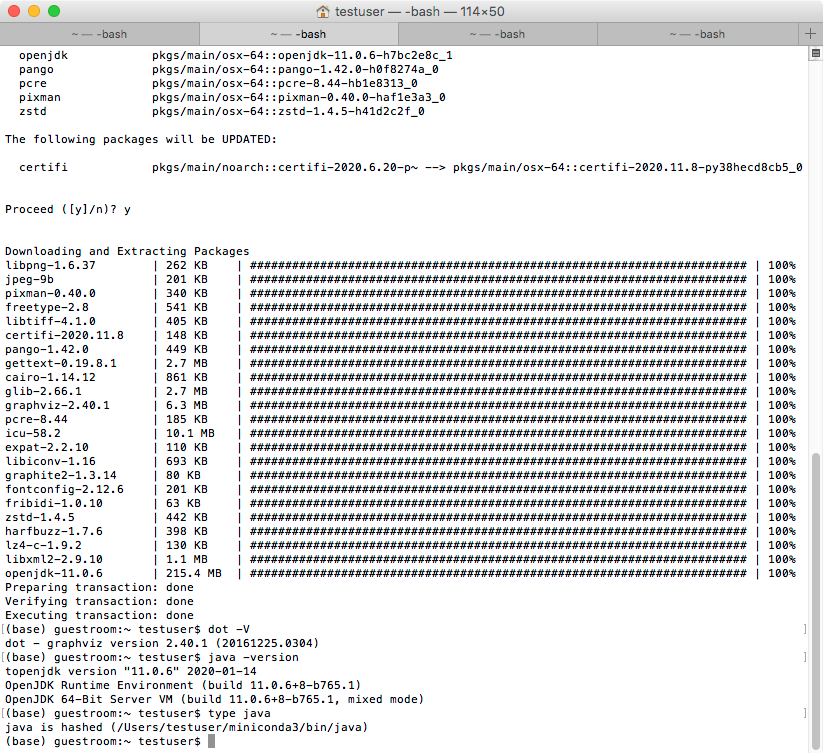
After download and installation has finished, verify both GraphViz and Java work:
dot -V
java -version
You can now skip to the section on installing ProvToolbox.
HomeBrew
HomeBrew is a popular package management system for macOS that can help with installing pre-built open source software. However, installing and using HomeBrew itself is not always trivial. This section is provided as an alternative to the Conda method above.
Warning: In our testing we found HomeBrew did not work using an older macOS 10.11. If you are using the newest macOS version on compatible hardware, you are free to try this approach, which can be useful later as HomeBrew adds a convenient way to install many other data science tools in recent versions, e.g. R, LaTeX, Snakemake.
Installing HomeBrew
First open the Terminal application, found under Applications/Utilities.
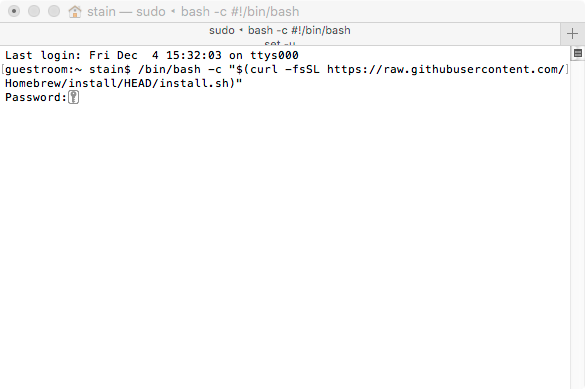
Following the instructions on the HomeBrew home page, paste this command line on a single line to start installing, providing your user password for administrator rights:
/bin/bash -c "$(curl -fsSL https://raw.githubusercontent.com/Homebrew/install/HEAD/install.sh)"
The defaults for installing are usually fine:
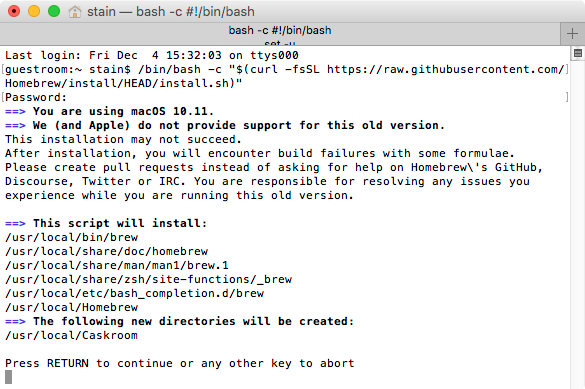
Note: If you get a similar warning about old macOS version, using HomeBrew may not work well on your machine (as we found in our testing). Try instead the Conda method described above.
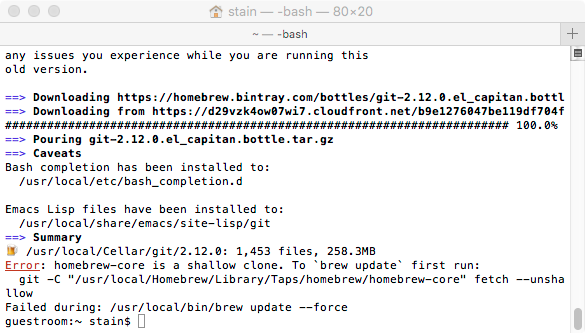
After installing HomeBrew you may get a warning about shallow clone, this can be ignored unless you are developing your own brew recipes.
Installing GraphViz with Homebrew
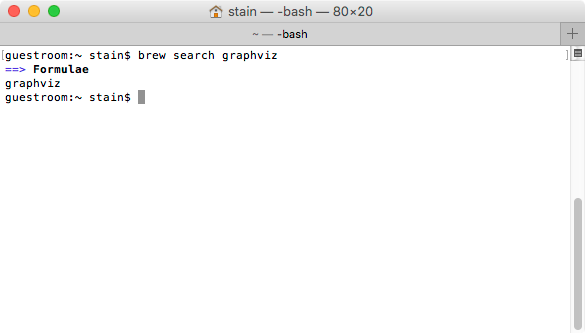
To activate brew it should be sufficient to start a new Terminal window. Test this by doing running:
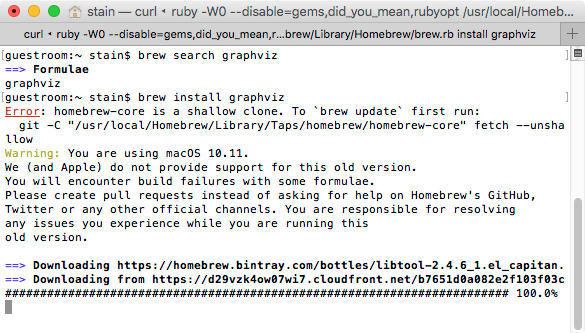
brew search graphviz
In this case you are ready to install:
brew install graphviz
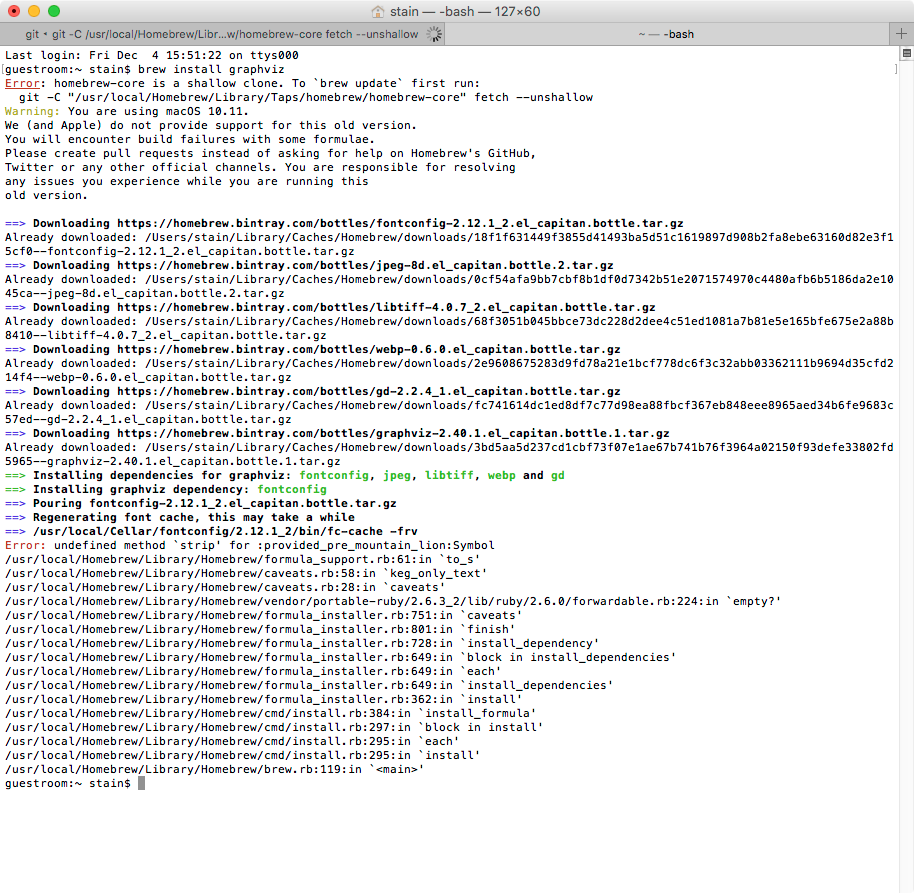
On a good day the above should complete and you would be able to verify the installation of graphviz:
dot -V
However on our test machine we got a stack trace error indicating a bug in Homebrew itself. This is why this method of Homebrew is not recommended for older Macs.
Installing OpenJDK with HomeBrew
Warning: This section has not been tested.
AdoptOpenJDK is a community effort for packaging binary installers/packages of the open source Java implementation OpenJDK, avoiding restrictive licenses and registration requirements.
To install OpenJDK 11 from AdoptOpenJDK with HomeBrew try:
brew tap AdoptOpenJDK/openjdk

brew install openjdk
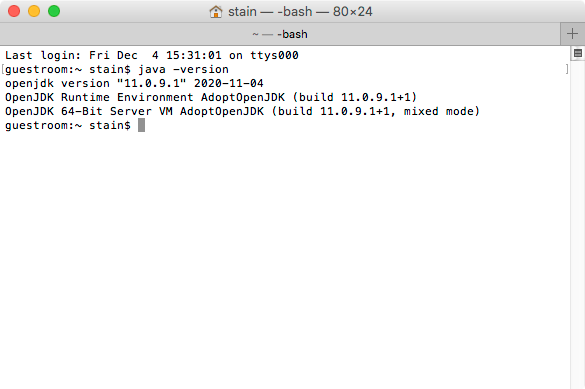
Verify the Java version:
java -version
Iain Emsley recommends to additionally add this symlink (if it does not already point to a different JDK) so that the Java application wrappers on MacOS know where to look. Note that depending on your Homebrew install you may need to replace /usr/local/opt with /opt/openjdk (see output from brew install):
sudo ln -sfn /usr/local/opt/openjdk/libexec/openjdk.jdk /Library/Java/JavaVirtualMachines/openjdk.jdk
If both Graphviz and Java are working, you can now skip to the section on installing ProvToolbox.
Installing manually
Installing AdoptOpenJDK manually
AdoptOpenJDK is a community effort for packaging binary installers/packages of the open source Java implementation OpenJDK, avoiding restrictive licenses and registration requirements.
While using a packaging system can help you keep your OpenJDK install updated, if you were unable to use Conda or HomeBrew to install Java, as an fallback it is also possible to download the standalone AdoptOpenJDK installer.
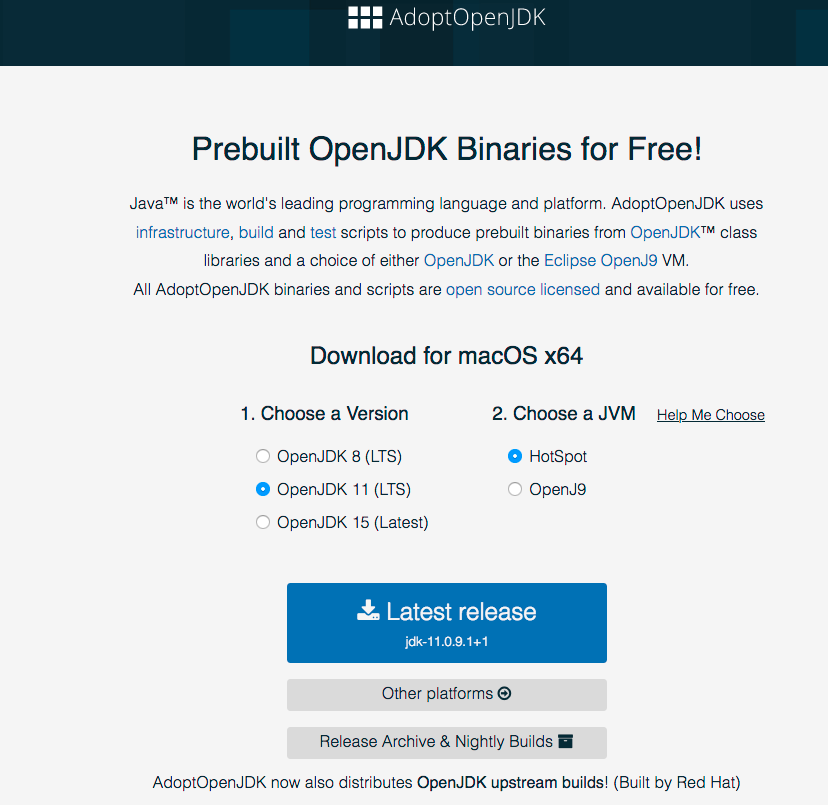
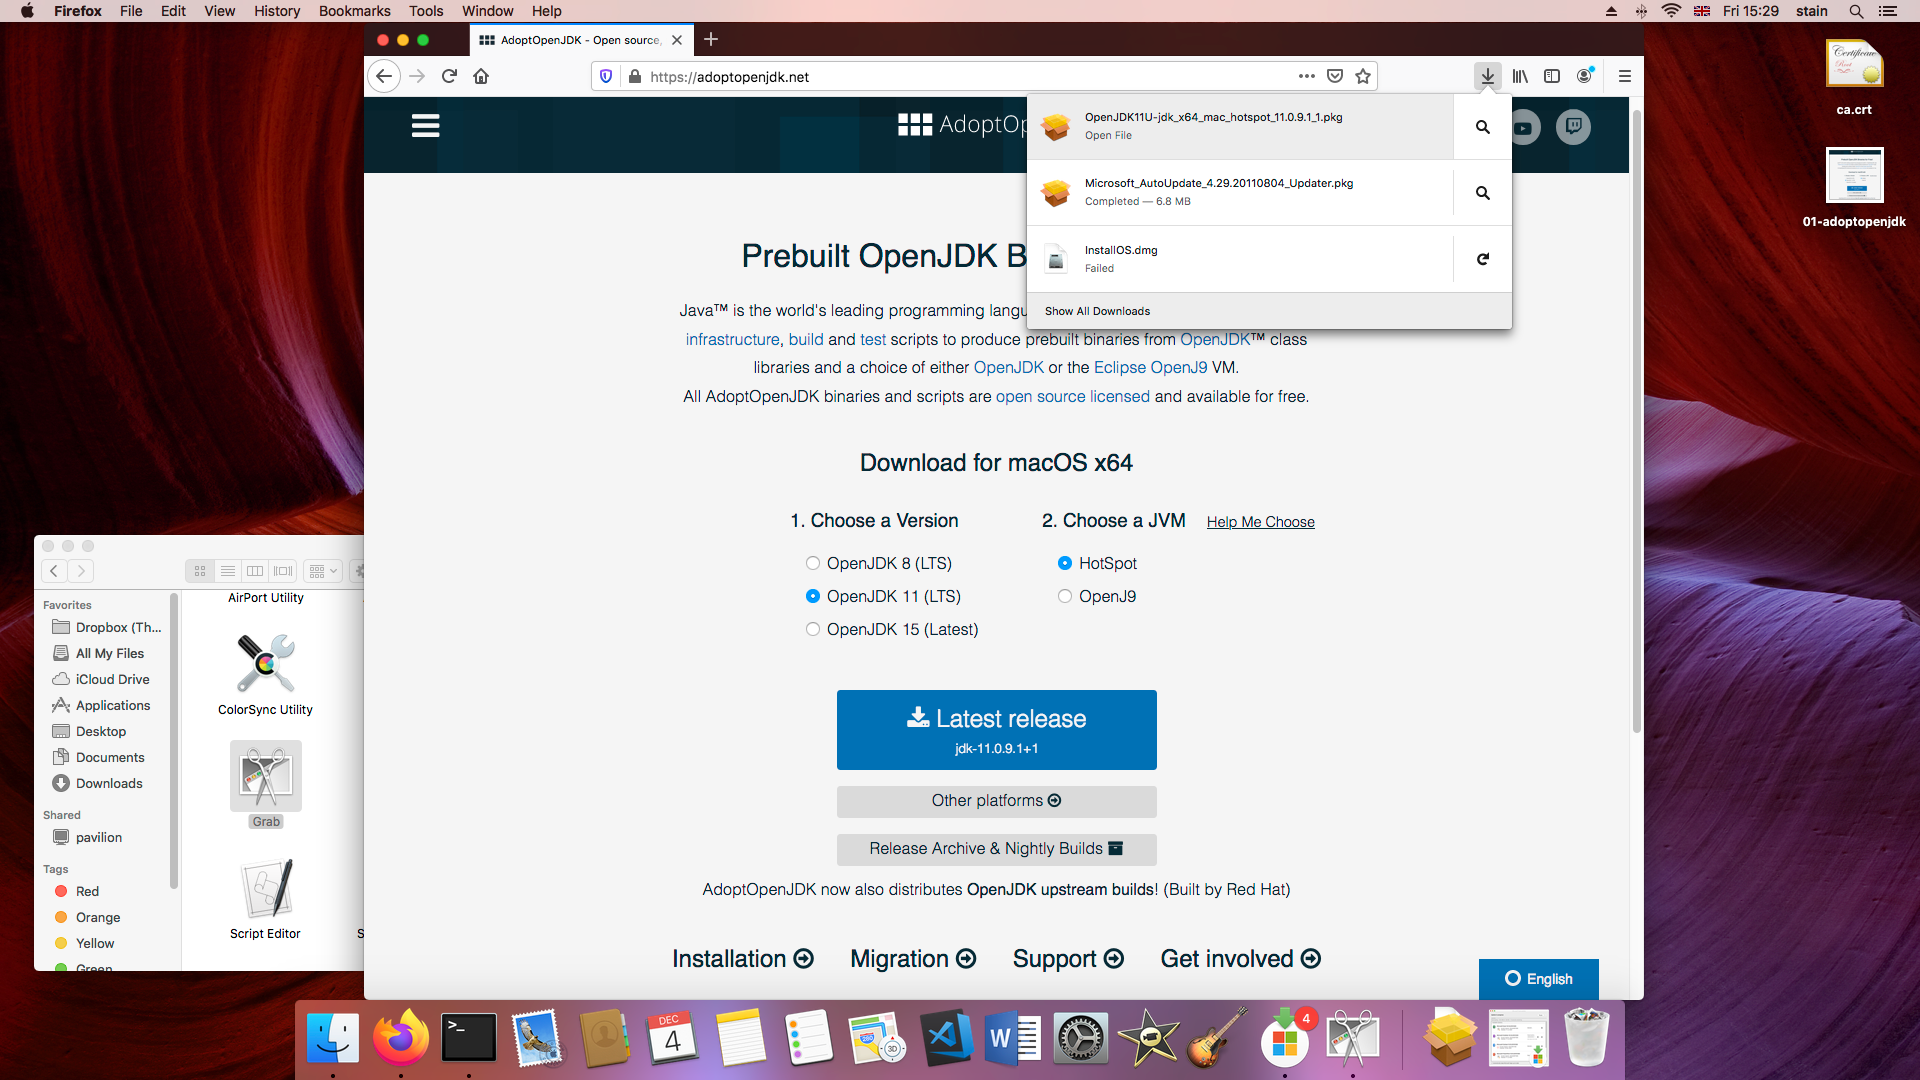
From the AdoptOpenJDK make sure you select:
- Version: Open JDK 11 (LTS)
- JVM: HotSpot
- OS: macOS
- Architecture: x64
If these options are not available, select them from the Other Platforms page. Download the pkg installer of the JRE.
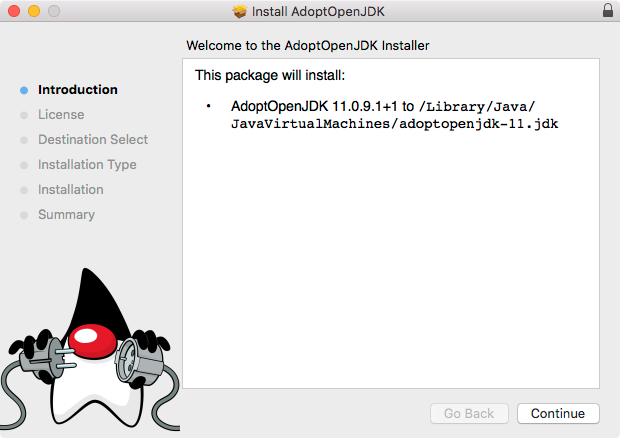
Walk through the installer and use the default settings.
Now open a new Terminal from Applications/Utilities
The installer should have adjusted your PATH. To check the installed version, run:
java -version

If you don’t get the correct Java version you will need to adjust your PATH and/or JAVA_HOME environmental variables.
Installing Graphviz manually
Compiling and installing Graphviz from source code is a non-trivial task on macOS. Some outdated pkg installers of Graphviz have been made but we have not tested these. A recent blog post details how graphviz can be compiled using brew dependencies, but this should only be needed for PDF support compared to brew install graphviz described above. If you already use MacPorts then try sudo port install graphviz
Installing ProvToolbox
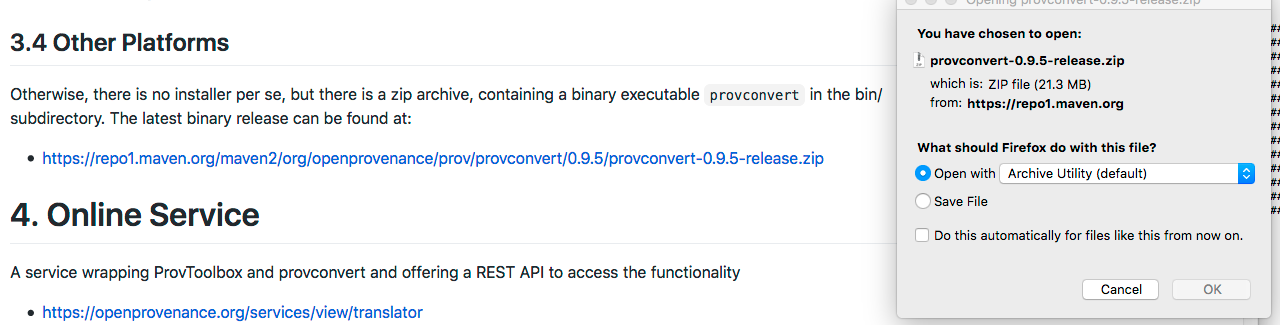
Following the ProvToolbox install instructions for “Other Platforms”, download the provconvert-0.9.5-release.zip:
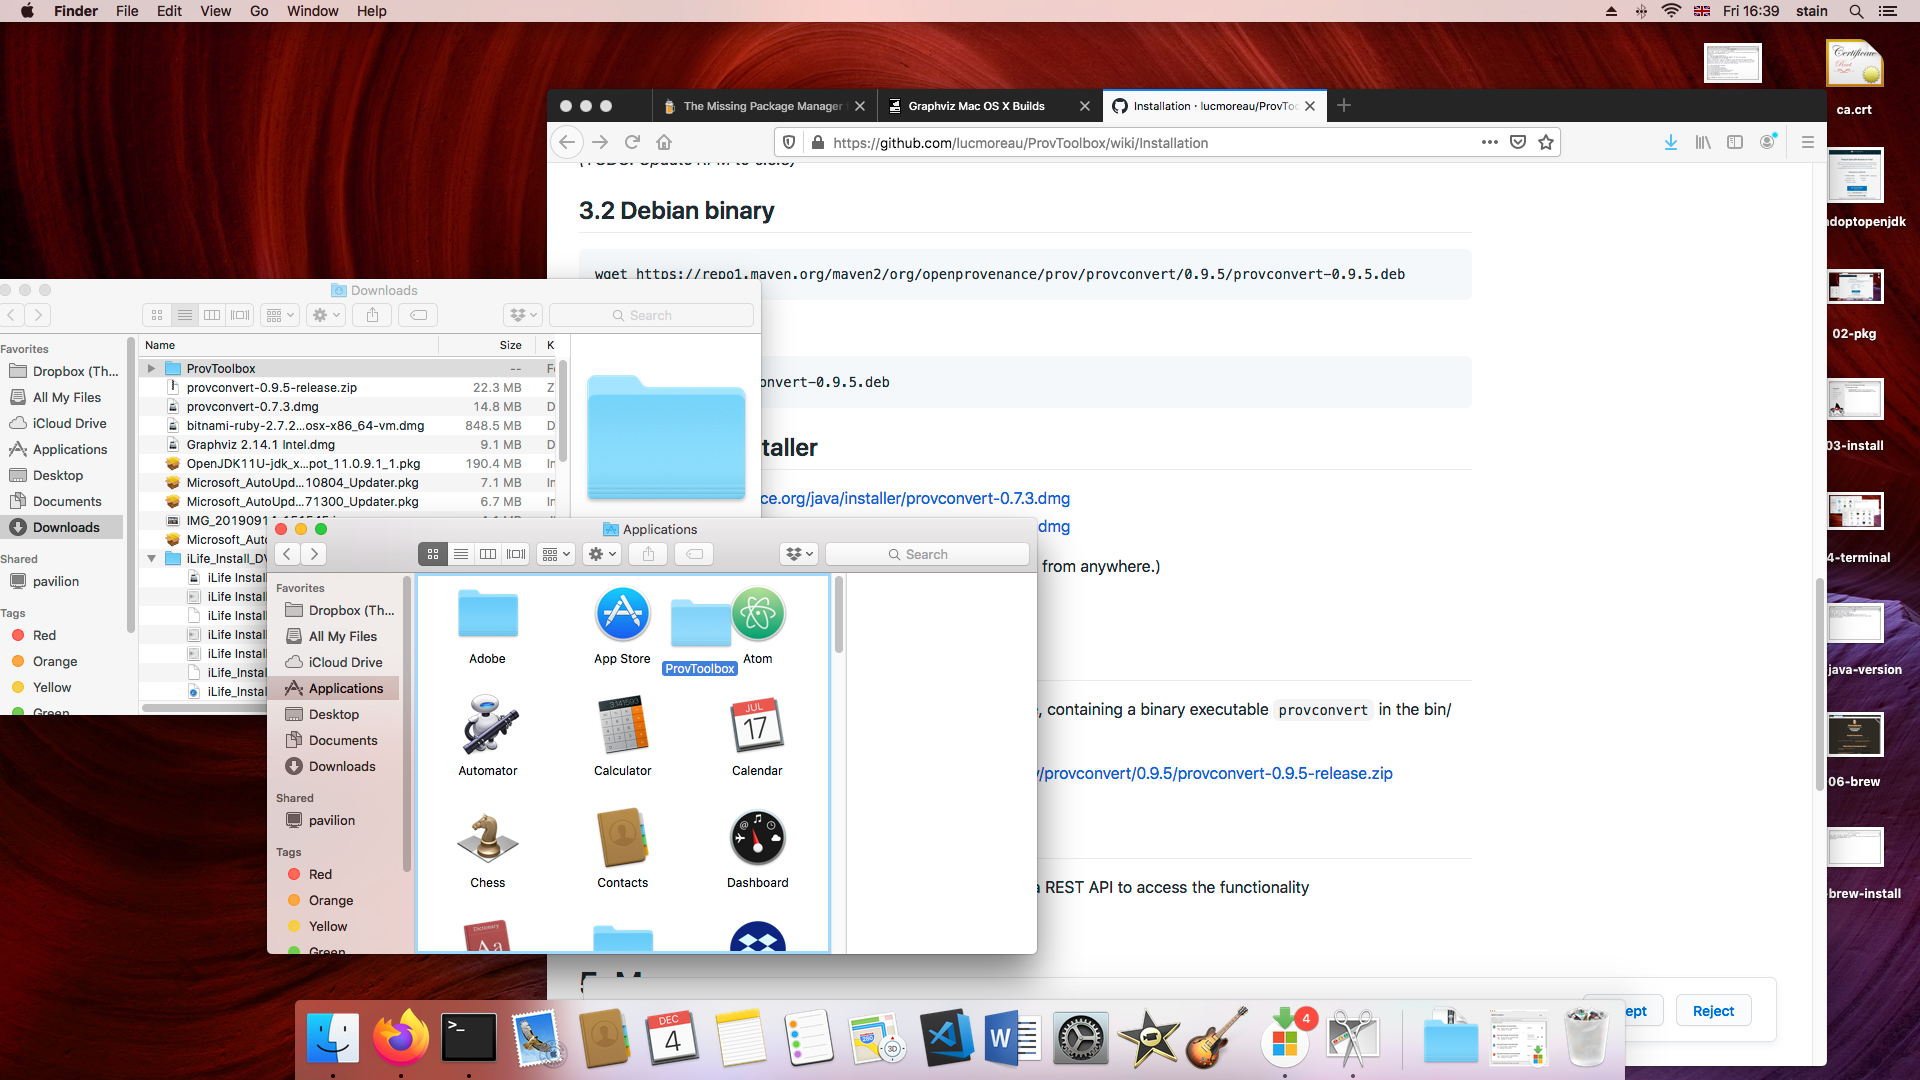
Opening with Archive Utility will unzip to your Downloads directory. From there, move the ProvToolbox directory to your **Applications** folder:
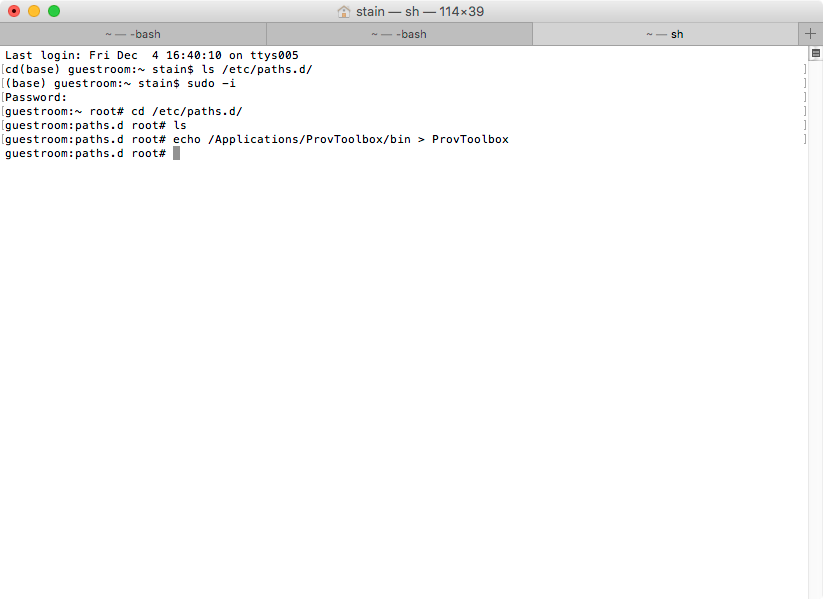
Next we will add the provconvert command line to your PATH. First open the Terminal from Applications/Utilities:
Become the root user and carefully run:
sudo -i

cd /etc/paths.d/

echo /Applications/ProvToolbox/bin > ProvToolbox

exit
Tip: You can use the Tab button to auto-complete the paths.
To activate the new PATH, either restart Terminal or log out of macOS and in again. Now verify with:
provconvert -version
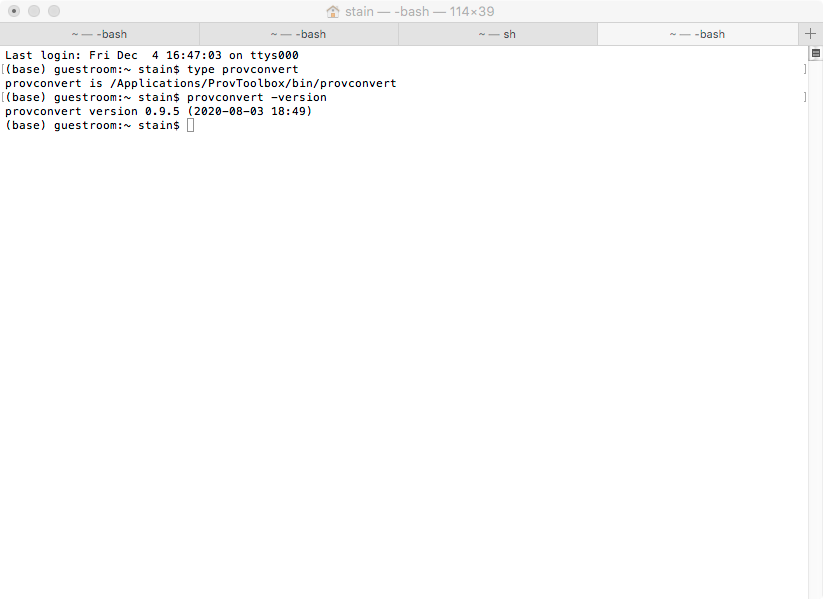
You can now start validating and visualizing PROV-N with ProvToolbox.
Tip: Convert to png and use the **open** command to preview the diagram:
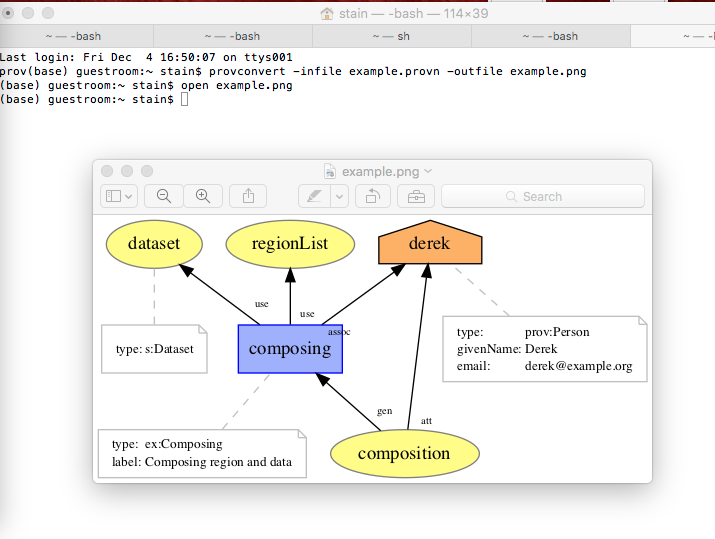
You can use the commands **cd** and **ls** to change directory and list directories in the Terminal. If you are unfamiliar with navigating the shell, you may find it easiest to save the provn files directly in your home directory.
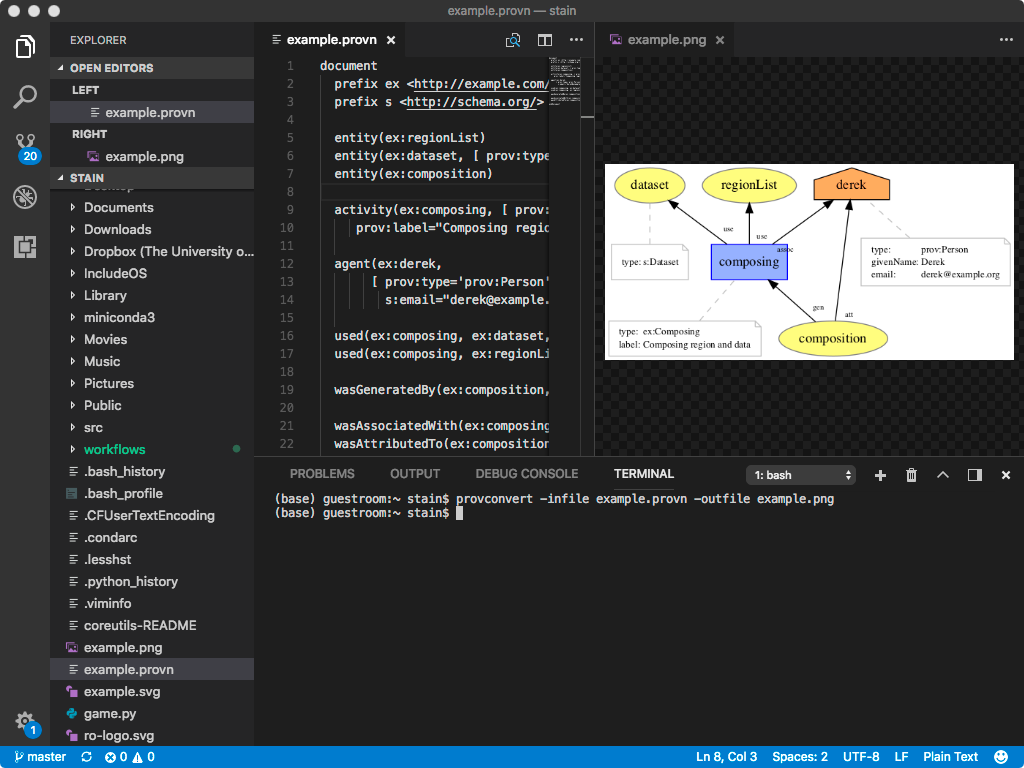
Using ProvToolbox from VSCode
While you may use an editor like Application/Utilities/TextEdit bundled with macOS for creating PROVN files, you may find an editor like VSCode more convenient, particularly as it allows opening an embedded terminal. After installing, try View -> Terminal in the menu.
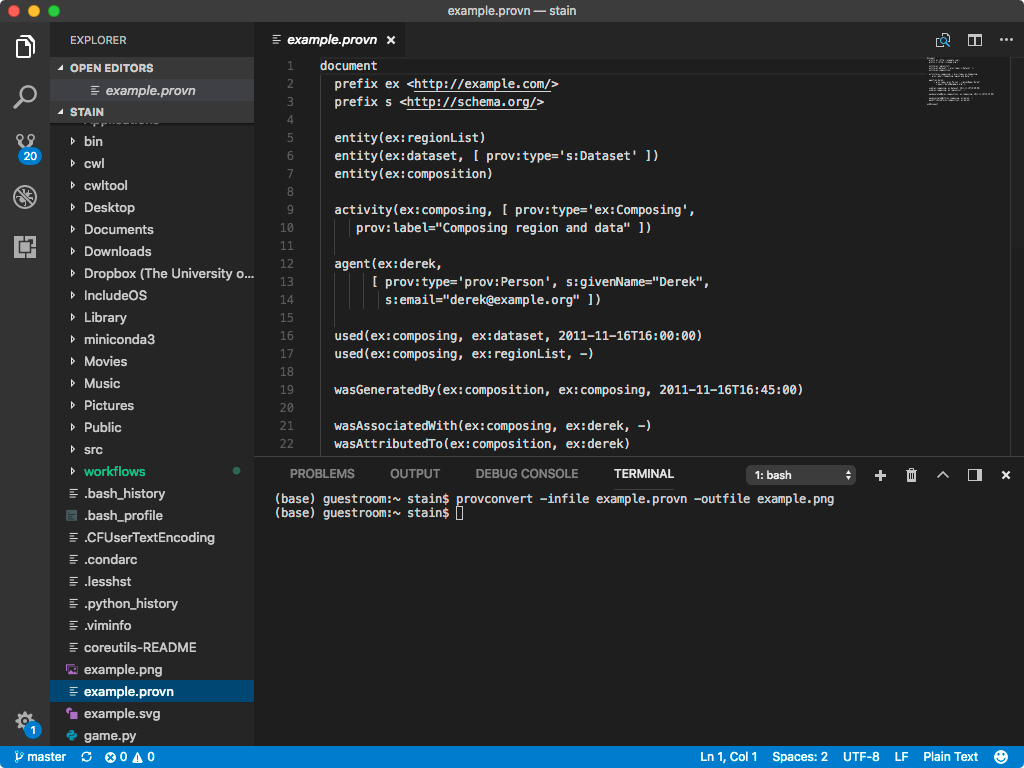
If you convert to png you can preview the diagram within VSCode: